I often get asked the question, how small can your printer print? Well I decided to scale down that skull print this week and see how well it does. Overall quite well. The only part that did not come through all the way is the connection of the Zygomatic Process. That said, that part of the model was really thin to begin with, even on the full size print. I would probably have to thicken it up just a tad if I needed that part to come through properly. Pics below! The size of the "large" skull is 1" wide x 1 3/8" long (front to back) The tiny skull is about 5/16 wide and 6/16 long (front to back). Both skulls were printed @ 25 micron with clear resin. See previous post with pictures of the large skull here.
Showing posts with label skull. Show all posts
Saturday, September 7, 2013
Friday, August 23, 2013
Skull Final
After a second pass of cleanup I have some photos to showcase the skull print. This one came out pretty exceptional. The cleanup was pretty simple using the nail file. The primer was done on this one using a Tamiya Fine Spray Can. I think I will try doing another this time priming it using the airbrush so it does not spray on so thick (which is partially my fault, I did 2 coats of primer on this one). The next one I do I will try to make it a 1/6 scale standard as well as make the interior hollow for faster printing. I was also told by Formlabs that I should not need to print with the grey material setting while printing clear anymore to get better results, so I will be giving that a shot next as well.
![]() |
| Hand for scale. |
Thursday, August 22, 2013
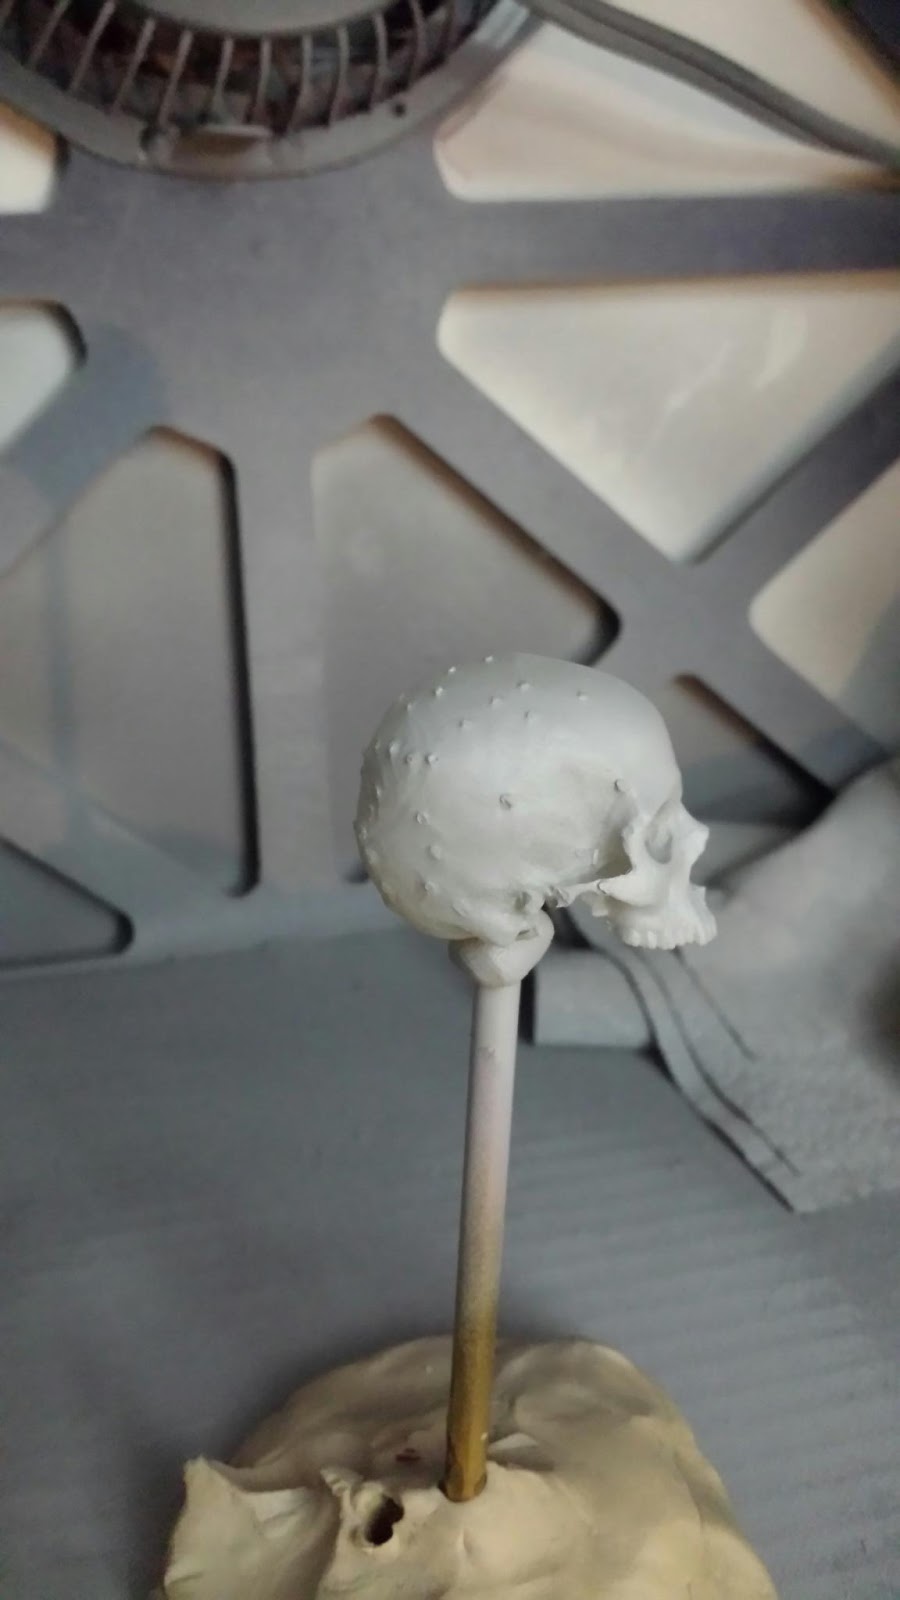
Skull Print Cleanup
After letting the model dry in the sun for an hour to let the resin fully cure. I gave it a light prime to really highlight the areas that needed sanding. Working on clear it is really difficult to see the imperfections and also difficult to see if the imperfection is on the surface or interior. I might try using something other than primer next time. So I can make the material opaque, sand then remove the paint and then polish.
![]() |
| Lots of cleanup to do on the back of the skull. |
![]() |
| My tool of choice for this cleanup is a fine/rough grit padded nail file. I cut them diagonally in half to get one side with a point that works well in tight spaces. Happy Printing |
Subscribe to:
Posts (Atom)