Saturday, July 27, 2013

Some new molecular prints.

So on the 3D front, I am currently creating some new models to be printed out in the next month. I think the next one I print is going to be an xtra large one that I will have to piece out into 4" parts. So that will take a while to complete. I will post the model when I am finished, then post a followup for the print and breakdown process.

This last week I printed out a molecule, well a model of one. It is a gift to my wife who is a chemist. This is a model of a Isoprene molecule that I built in Maya with primitives and parted and pegged in ZBrush.


This is the final print and has been primed. I will sand it a bit more and do a final paint on it next.


One of my failed prints. My first few attempts I tried the print the entire structure in one go. Some parts worked and many failed. Most of the failures were due to lack of supports or them bending while printing, making some of them fall off.

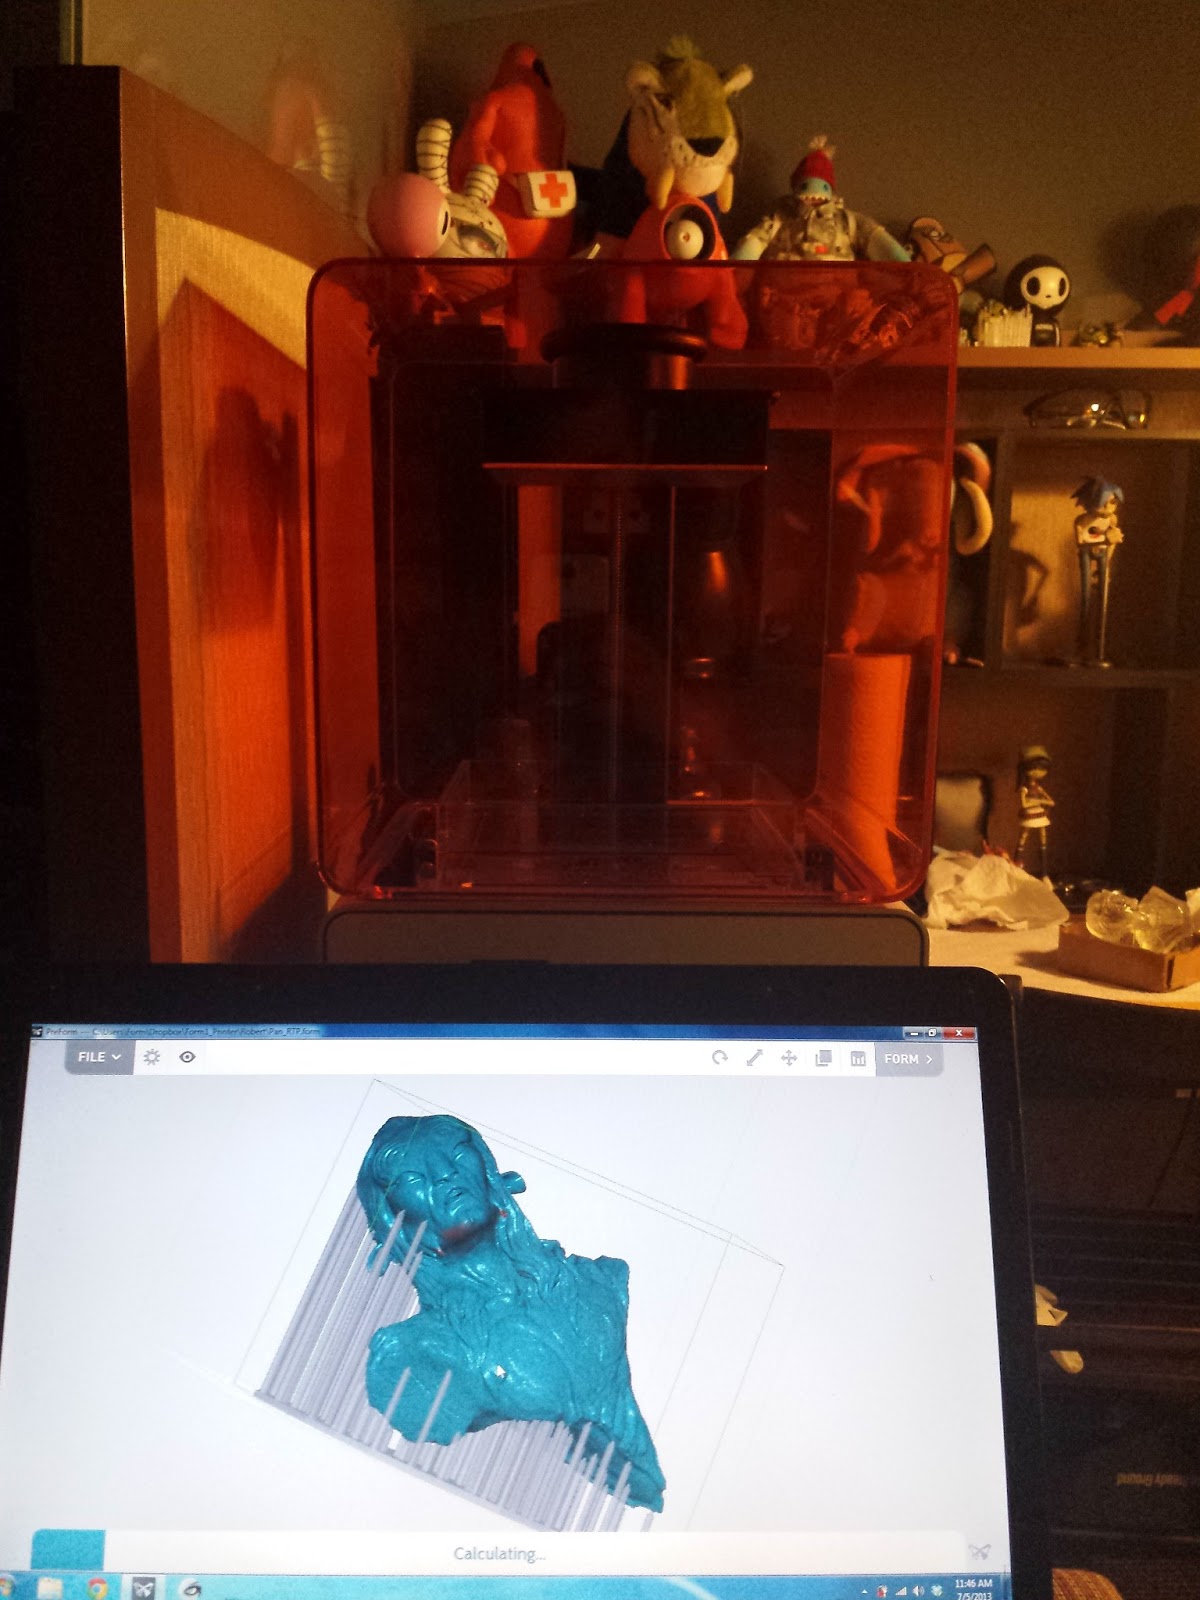
Isoprene part ready for printing with supports.


Isoprene parted out ready to print.

Friday, July 12, 2013

How To Train Your Dragon 2 - HD Teaser Trailer

I am happy to show off some of the work I was lucky to be apart of for the past year and a half. Check out the teaser trailer to How To Train Your Dragon 2. This is going to be one great movie, I hope you enjoy the preview! I recommend going over to youtube to watch it in full screen HD goodness.


Sunday, July 7, 2013

3-3D prints


Round one of printing is done. It has been an amazing learning experience to say the least. I am pretty happy with how the first batch turned out. There are lots of "little things" that could be cleaned up but it is time to move on. Working/sanding the prints themselves has been a difficult thing but I am starting to get the hang of it.

The prints are based off of these models here, here and here.


Trial and Error

Airbrushed on the final copper paint.
One of the final cast of the bases. Turned out pretty great this time around with little to no bubbles.
All cleaned up with primer. 
I guess my kitty (Moss) likes watching resin dry. I don't blame him. It's flippin awesome.

After the print is finished, it is time to give the resin a 90-proof isopropol alchohol bath. This removes any uncured resin from the model.
It is stuck to the platform, I use a spatula to scrape it off.
One of the failed prints. A little adjustment on how  the bust attached to the support structures made all the difference.
The Ferengi attached to the platform completed. The first version of this model failed on me, so I was happy to see this one come out good.
Print is done and is being suspended by magic, and maybe some resin support structures.

Sending off a print, we got a laptop permanently attached to the printer at my desk.


Saturday, July 6, 2013

Drying in the sun

Putting my Pan print in the sun for a bit before painting. This makes sure that the resin is fully cured.

Thursday, July 4, 2013

Automatic Topology: Mudbox vs. ZBrush!

Using the head from my Krank sculpt for the topology demo.
In Mudbox the corners of the mouth, eyes and nose are extremely successful without the use of curves. Downsides are lots of strange terminations of topology where ZBrush has better flow around large broad shapes. Remesh time 2:00
No matter the setting, I could not get clean topology from ZBrush where it really mattered, in the mouth and eye corners. Nose and ears looked absolutely fantastic though.  Remesh time 00:55
Both pretty equal in quality in the ear area
The ears on both models look great. Neck topo is far superior with ZBrush. Nice "blanket" quad flow in ZB.
Eyes and NLF looks good too.
Nose looks great, also nice symmetry with pole placement in the eye bridge. 
Using guides in Mudbox produce really clean edges generally. You do have to use them sparingly. Only add edges where you are getting very bad geo. If you try to add edges where the automatic topology is doing fine, it will generally just screw things up. Mudbox has much better curve/topology tools as well. You are able to edit the curves after that fact. Curve tools include Smooth, Erase, Edge Loops and Border Edges. Remesh time 02:00
Using curves in areas like the eyes and mouth corners, I was able to get much cleaner results. Still not as clean as what you get from Mudbox when you don't use curves at all and definitely not as good when you use Mudbox curves. Remesh time 00:55

Mudbox does transfer your detail and textures over which is pretty great in most cases. But you can see during the automated process, it does a poor job accurately preserving that detail automatically in paint and sculpt detail. Not all is lost though, you just have to divide the mesh again and set your p-tex resolution a bit higher and transfer details again and you should be nearly 1:1 with your source model.
A simple rock done in Mudbox and Zbrush. The ZBrush rock followed the line-work much closer than Mudbox, even at fully optimized settings. ZBrush is a clear winner when it comes to objects like these.
I could not get Mudbox to follow the sculpt without the use of guides. Very much like the little rock, ZBrush does a fantastic job outlining the sculpted form of this surface. Re-mesh time 03:00.

Excellent flow in geo. Adjusting the settings you can dial in and out the amount of edges that you need to define those specific details. Re-mesh time 00:40!
Conclusion
Mudbox and Zbrush both have great topology solutions at this point. When working on faces, I feel mudbox has a slight benefit. The mouth and eyes turned out significantly better in Mud than in ZBrush. That said Mudbox cannot re-topo several meshes into one single mesh, so that is a negative for me when designing characters. Mudbox is also significantly slower to re-topologize, generally it takes 2x -3x the time as it would in ZBrush. Zbrush has a much better solution at generating geometry that follows the curvature/sculpted detail of the model, like in the rock examples. However, you are limited in what size you can re-topologize in zbrush, typically 8 million, where in Mudbox the only polycount cap is what your computer supports.

Time Lapse


Preparing this model for 3D print, here is a Time-Lapse video of the process.

Monday, July 1, 2013

Paint Day

The Form 1 Printer, what a sexy machine.
Here is the clear resin output from the printer. Visible it is not here, I need to clean up where the supports were stuck on.
Using a good ol` nail file, I sanded the back and side areas as smooth as possible and then began to fill them in with Squadron White Putty.


I still have some balance issues and need to flatten out the bottom so it rest flat on the platform. This resin is wicked hard stuff and need to get some harsher sand paper for it. 

Form 1 3D Printer


Here is the video that I made a couple weeks ago showcasing my first 3D print from the Form Labs 3D Printer. Ill follow up the post with some stills of the print and the printer. The model was sculpted in Mudbox and prepped for print in ZBrush.